Microsoft System Center Operations Manager
SysManX adds a whole new dimension to critical alerting from Microsoft System Center Operations Manager (SCOM). The SMS alerting feature of SCOM is very limited, and SysManX adds important functions such as alerting to groups, flash messaging, delivery reports, alarm acknowledgement with SMS, on-call shift management and calendar, and much more.
This guide is a detailed step-by-step guide that describes how to configure SCOM 2012 with SysManX.
The overall steps are as follows:
- Create a new Notification channel for SysMan
- Create a new Subscriber using the SysMan channel
- Create one or more Subscriptions for notifications to send through SysMan
Creating a new Notification channel
In the Operations Manager Administration panel, navigate to Notifications - Channels.
Right-click and choose New - Command...

It is important to select Command, and not Text Message (SMS). The Text Message option is only for the limited built-in SMS functionality in SCOM.
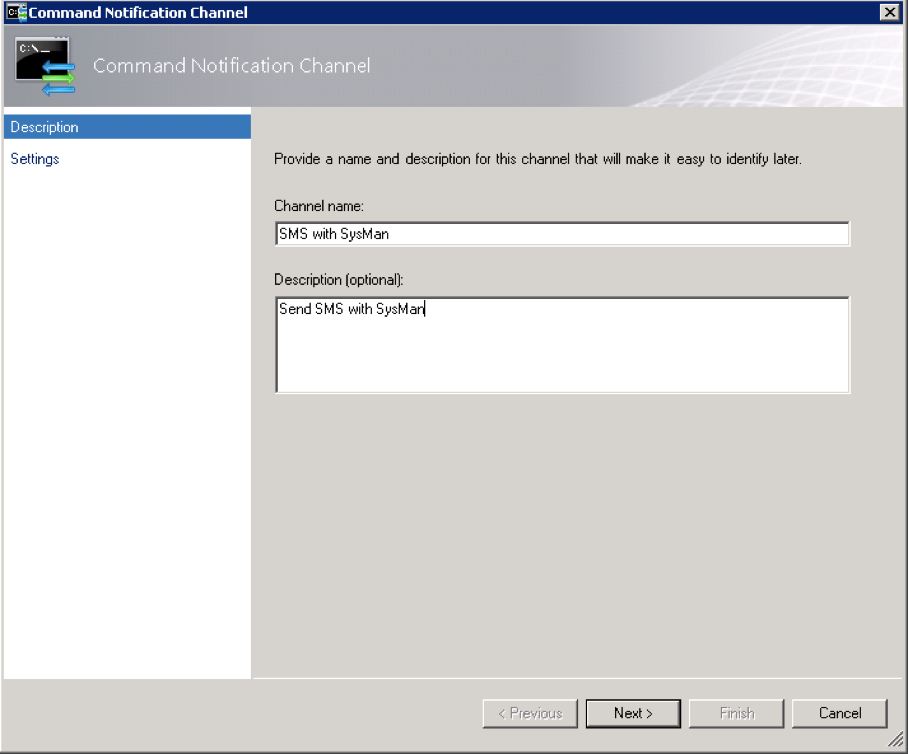
Now give the new Channel a proper name and description:
Click Next and configure the Settings. Configure the settings as shown in the screenshot below:

Full path of the command file: This must point to the full path of the SysManX Client executable file. Exact path will depend on where you installed SysManX and/or copied the SysManXClient executable files. With a default installation it will typically be: "%PROGRAMFILES(x86)%\SysManX\client\SysManXClient.exe".
Command line parameters: Here you specify the parameters for the receiver number or Numberlist name, and the parameters for the notification data you want to send as SMS. If you have configured the SysMan HTTP API to use authenticatio you must also supply username and password. Example:
-r oncall -m "$Data/Context/DataItem/AlertName$" -u myuser -p mypassword
Startup folder for the command line: Should be set to the path of the folder where the SysManXClient is located, typically "%PROGRAMFILES(x86)%\SysManX\client"
Remember to also configure the SysManXClient.
You have now successfully created the Notification Channel for SysMan.
Create a new subscriber
In the Operations Manager Administration panel, navigate to Notifications. Right-click on Subscribers, and create a New Subscriber using the Notification Subscriber Wizard.
Give the Subscriber a practical name, such as "SMS", to indicate this is not an individual but the SysManX system that is the subscriber.

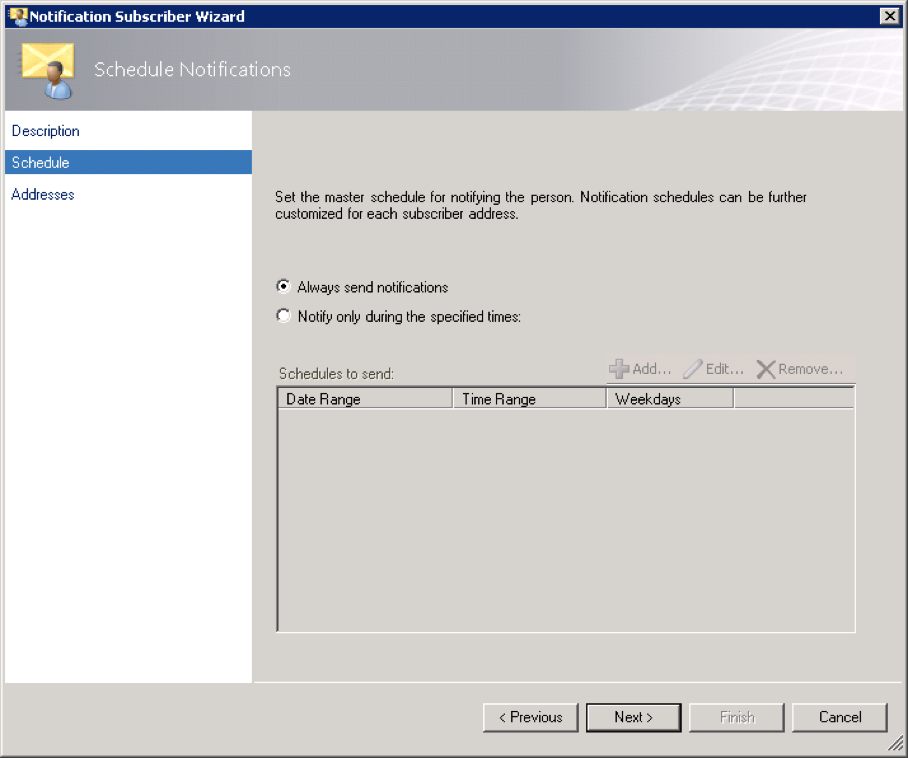
Under Schedule, choose "Always send notifications". You will manage schedules in SysManX instead.
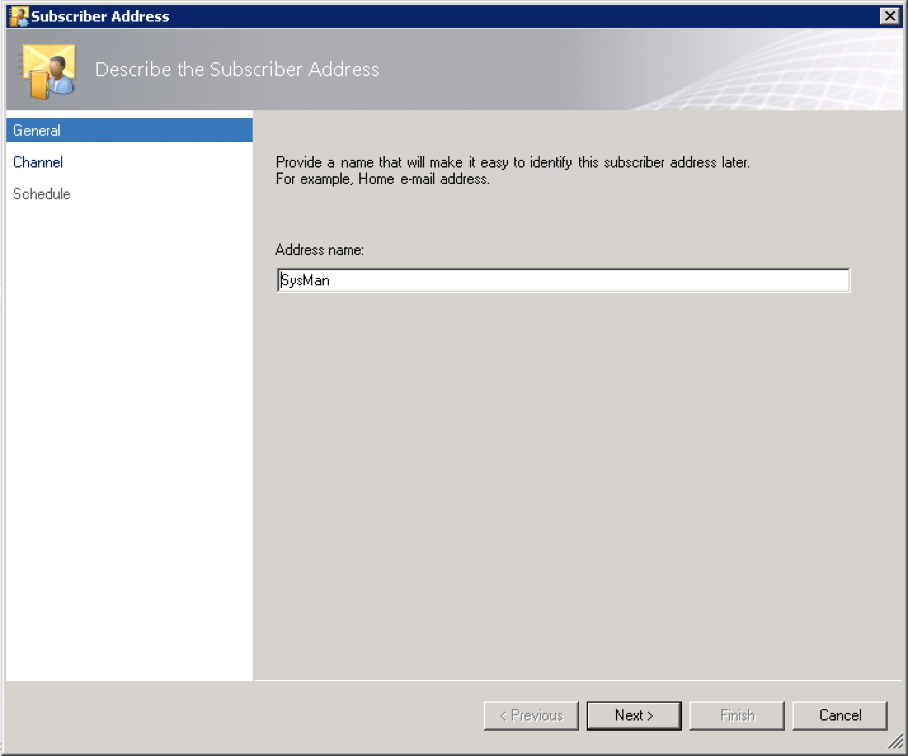
Now you need to add an Address. Click on the "Add..." button to create a new Address.

Provide a name for this address, for example "SysMan".
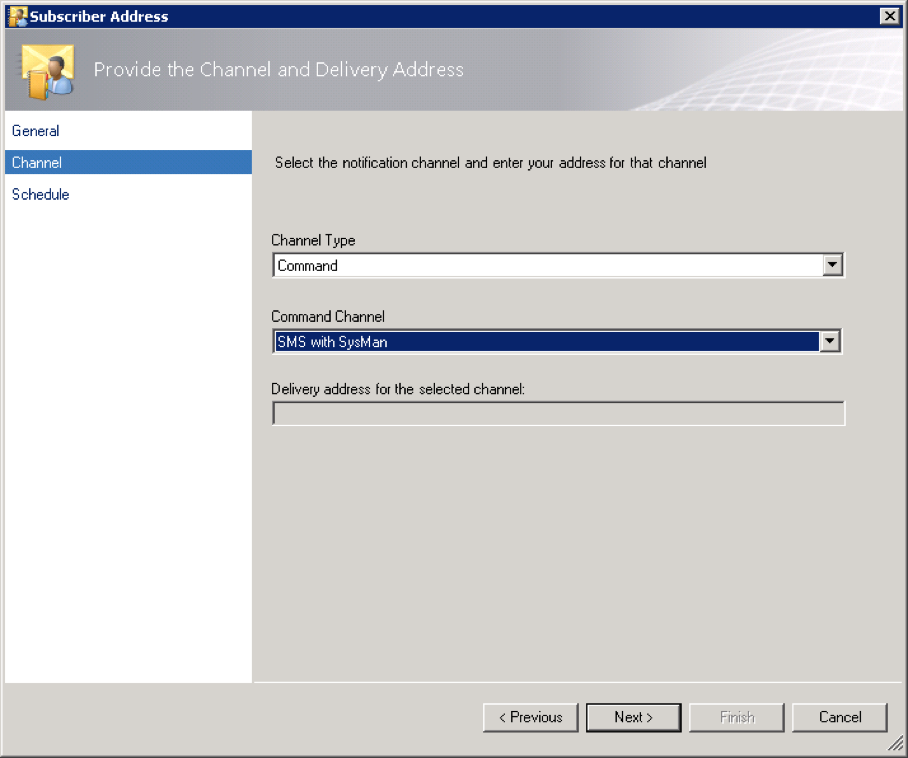
Now you need to select the Channel you previously created as the Channel for this address. Select Channel type "Command" and then select the Channel you created:
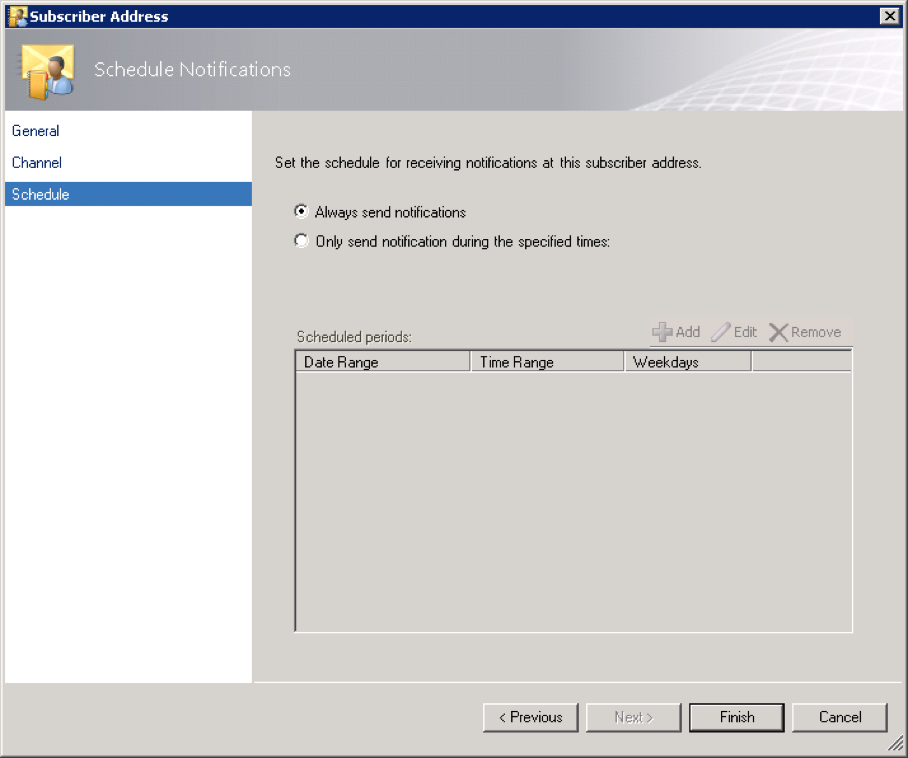
Under Schedule for this Address, choose "Always send notifications".
Your Subscriber Addresses list should look like this when you are done:
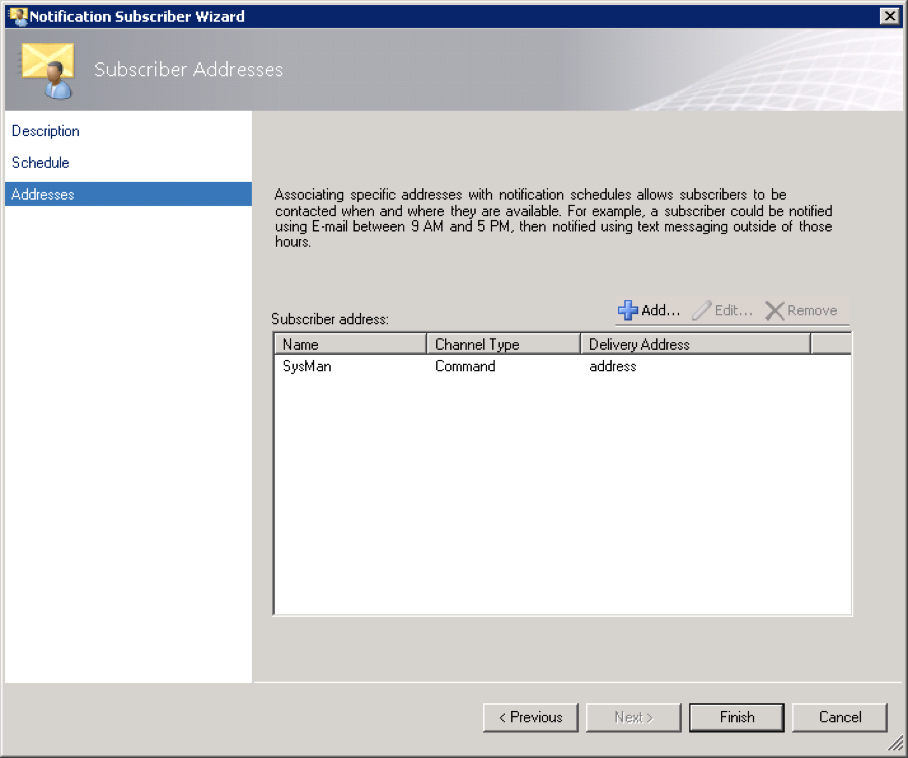
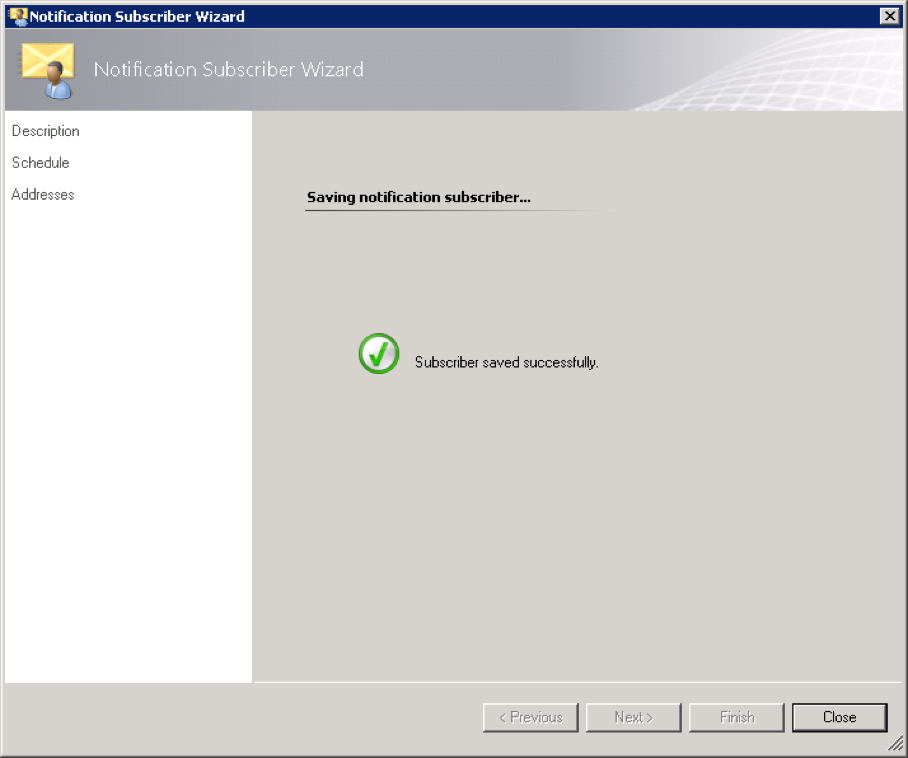
Click "Finnish" and "Close" to save and go back to the main window:
Create Subscriptions
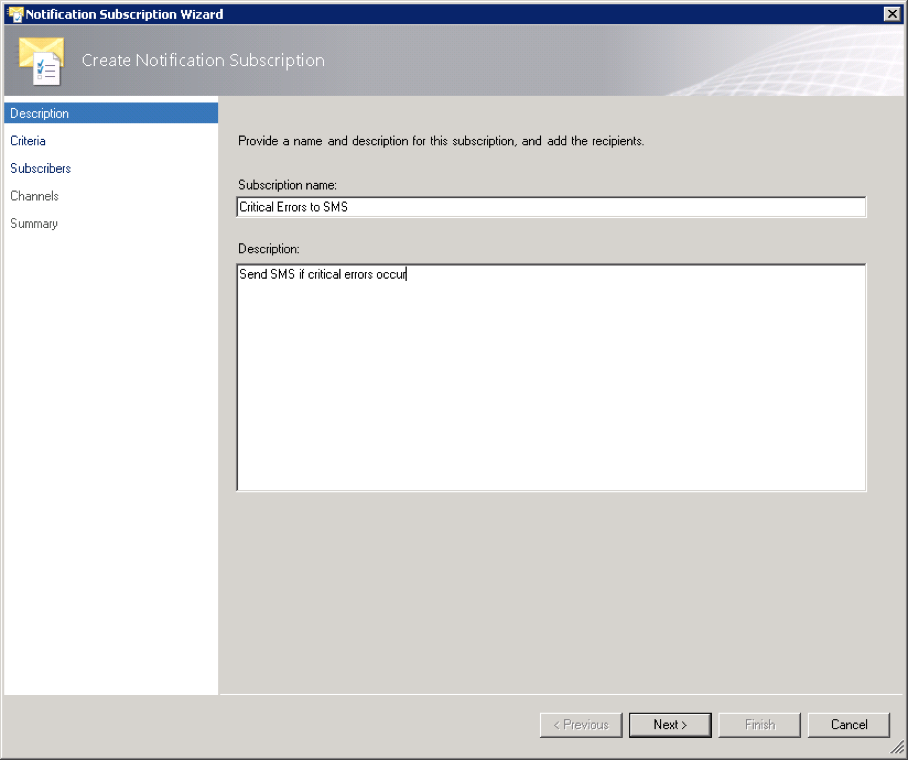
You need to create at least one Subscription that will take Notifications and send to the Subscriber you just created. In the Operations Manager Administration panel, navigate to Notifications. Right-click on Subscriptions, and create a New Subscription using the Notification Subscription Wizard.
Provide a suitable name and description for this Subscription:
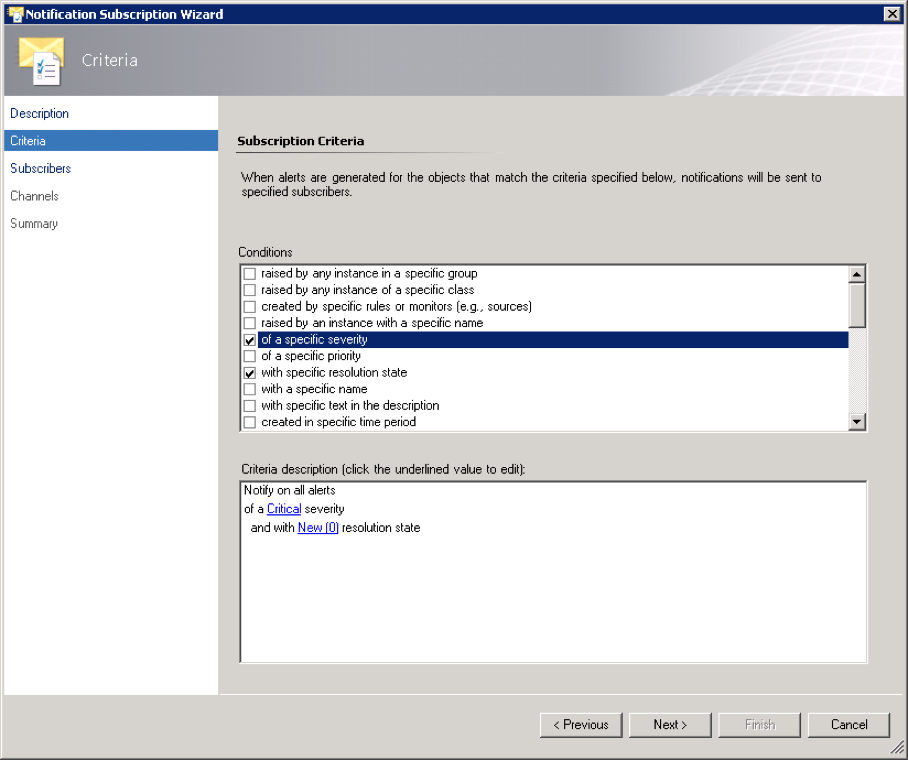
Under Criteria, select the Condition(s) you need for your Subscription. The example below shows how to set up a condition for all new alerts with Critical severity.
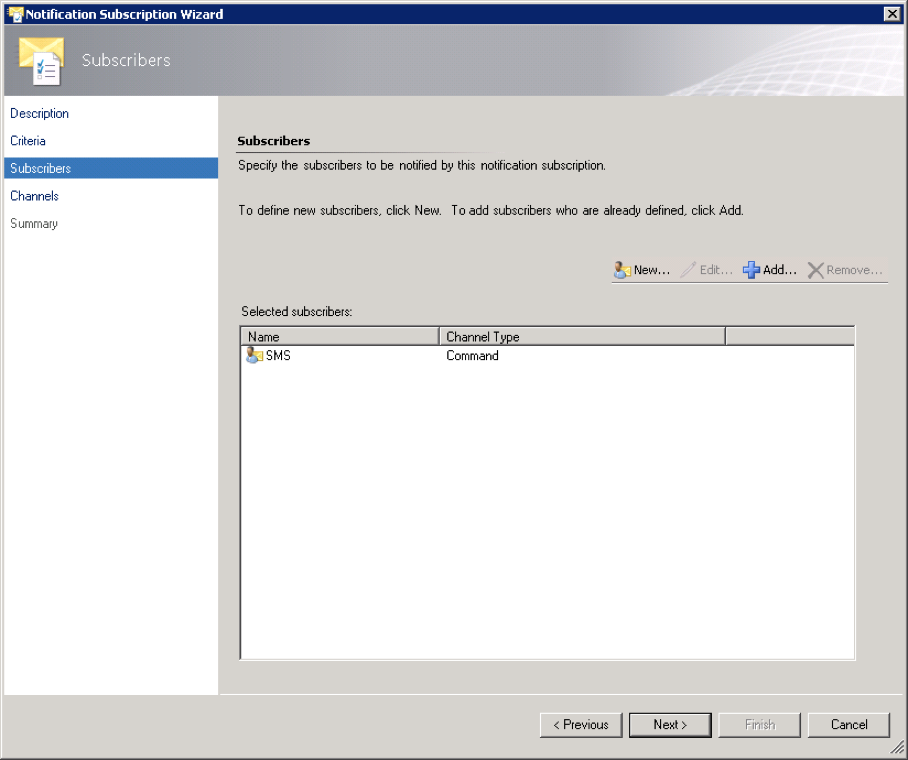
Under Subscribers you add the Subscriber you created previously. Click on "Add...":
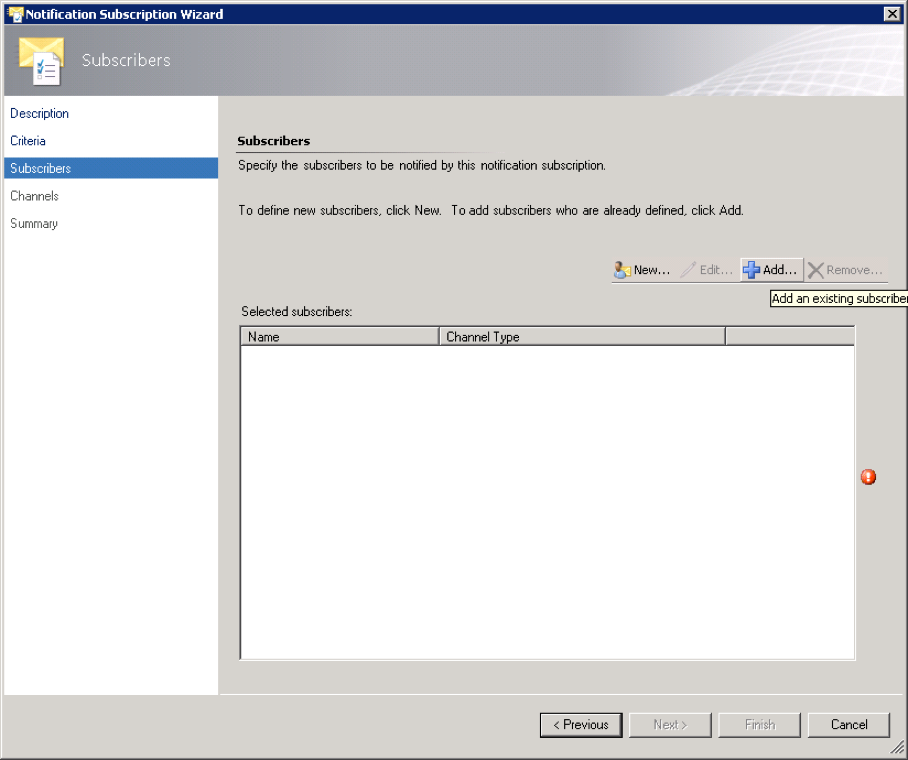
To find the Subscriber, just click on "Search" and it should show up. Select it, and click on "Add" to add it to list of selected subscribers for this subscription.
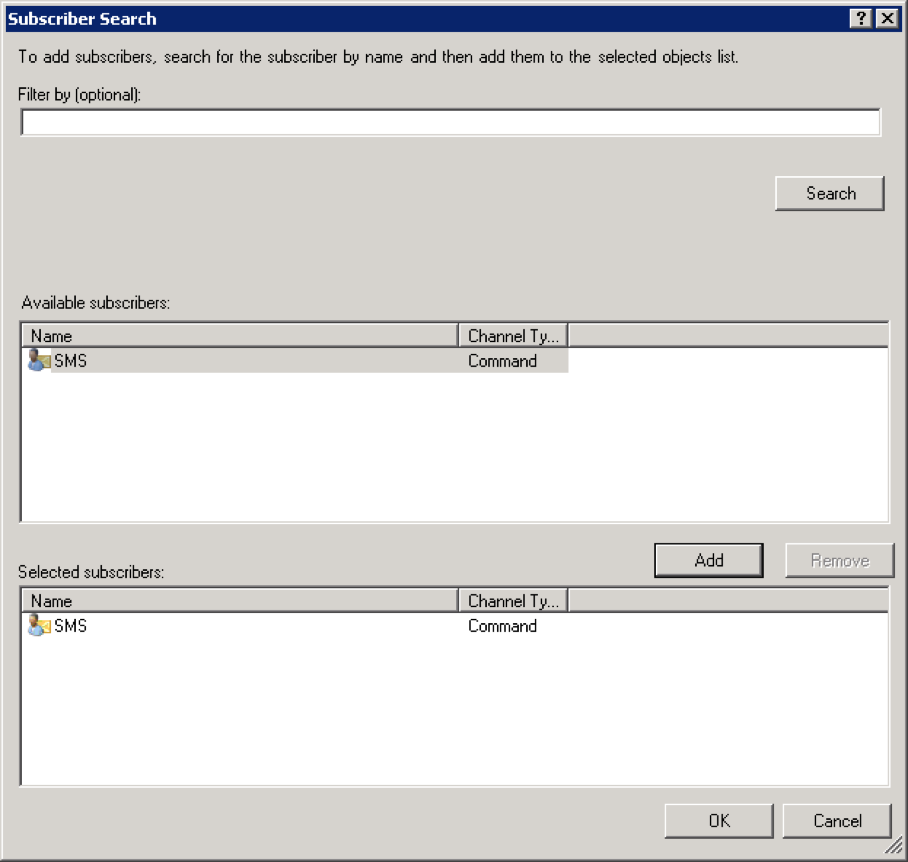
The Subscribers list should look like this:
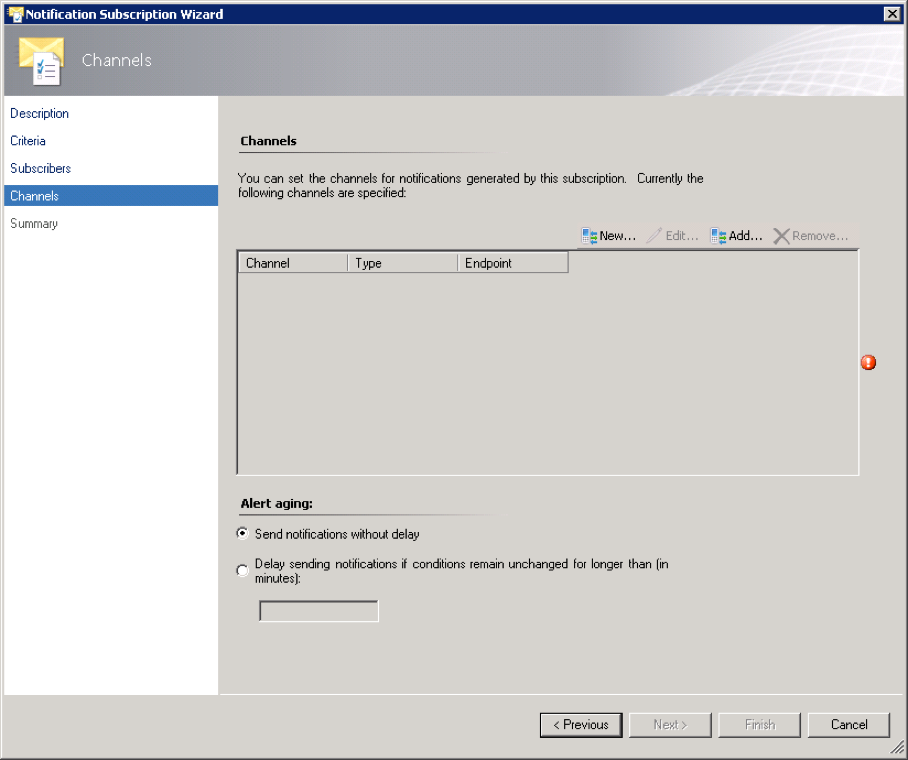
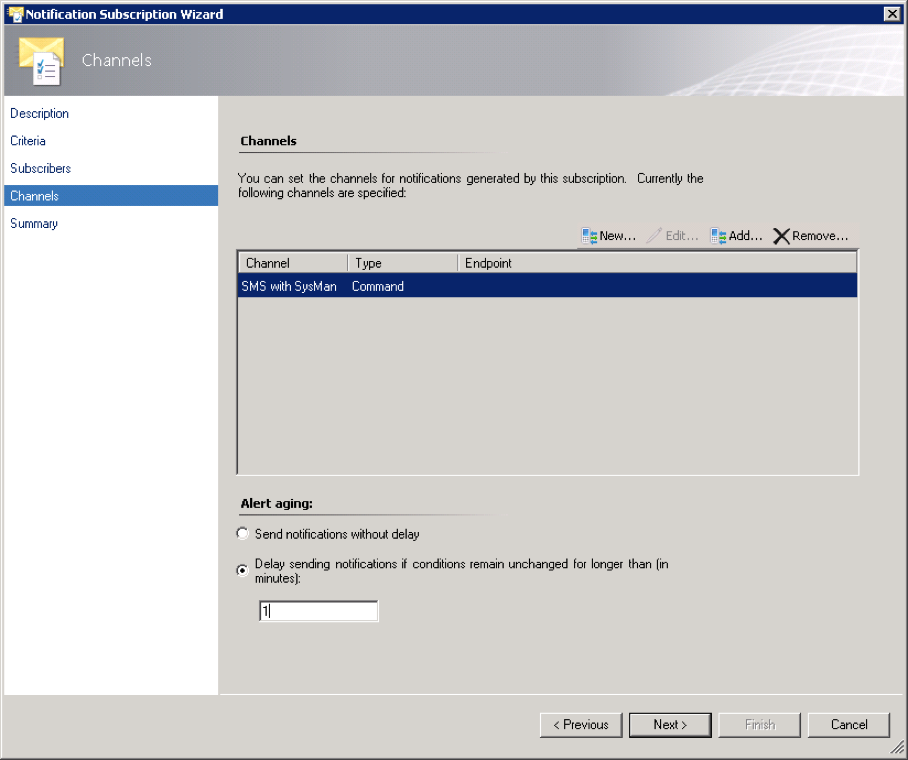
Now move to the Channel tab and click on "Add..." to add the Channel for SysMan:
To find the Channel, just click on "Search" and the Channel should show up. Select the Channel and click on the "Add" button to add it to the list of "Selected channels".
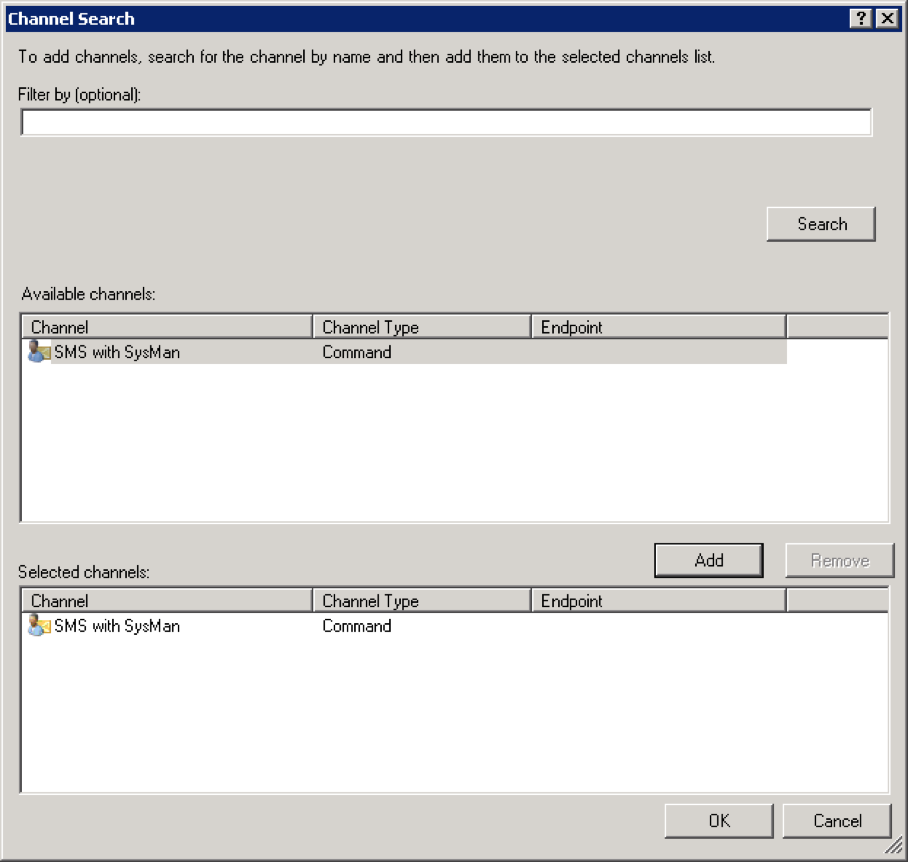
The Channel tab should look like this when you have added the SysMan channel. We recommend that you turn on the "alert aging" setting and set the "delay sending notifications..." setting to 1 minute.
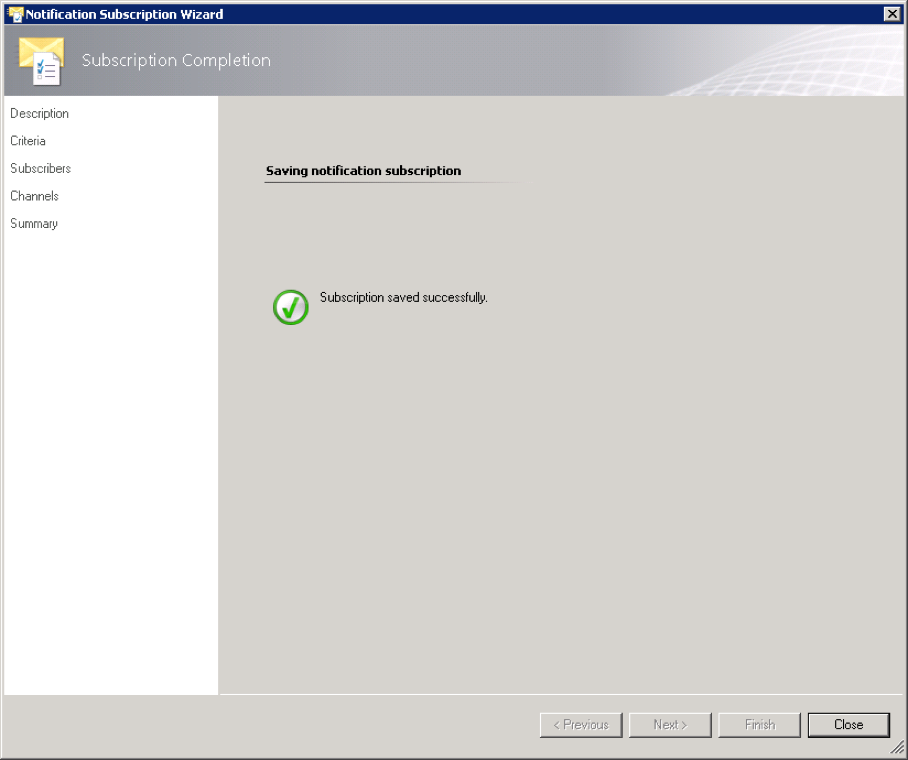
Now, under Summary, you should review your Subscription configuration and check the "Enable this notification subscription" checkbox at the bottom of the screen:
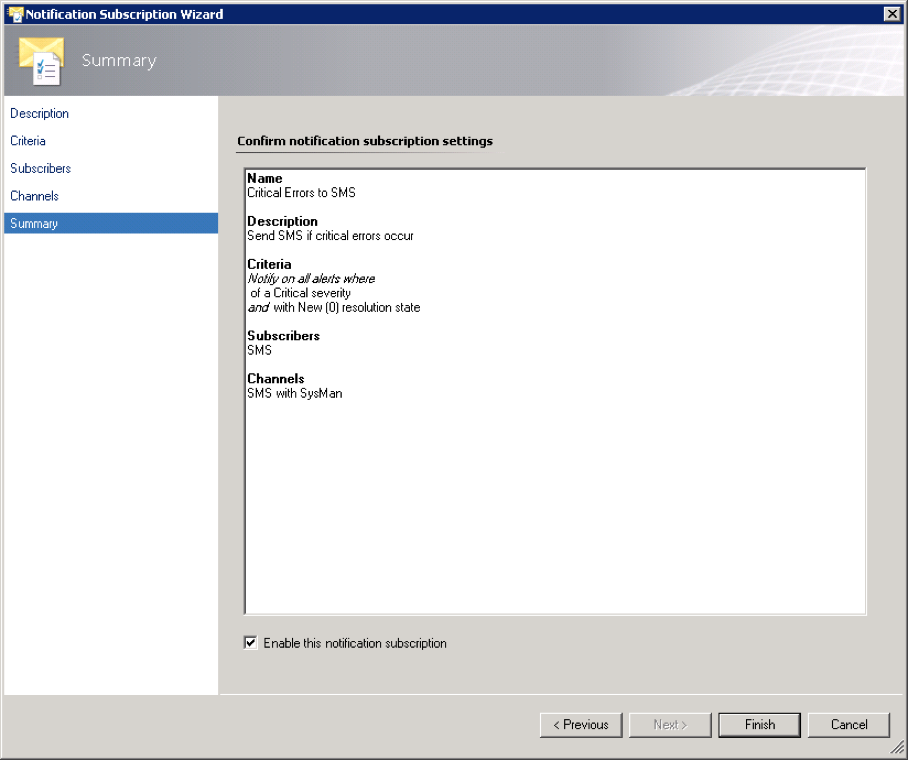
Your Subscription is now saved, and you have successfully created a Channel, a Subscriber, and a Subscription that will bring critical alarm notifications to your on-call team in SysMan.